Deploying a Managed Database
The create wizard sets up a pgEdge Starfleet Managed database in a series of wizard steps. When the account has no database yet, the console opens a welcome dialog:
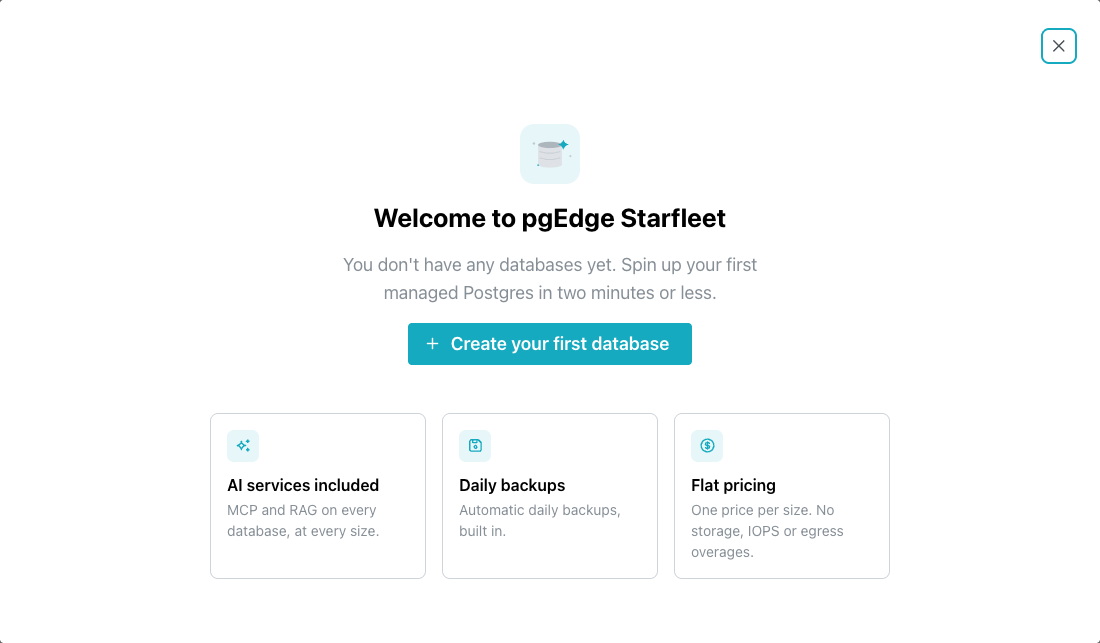
Select Create your first database to open the wizard. To create
another database later, select New Database in the navigation pane.
The wizard lists its steps on the left. The Account step is complete
when the wizard opens, and displays the account the database is
created in.
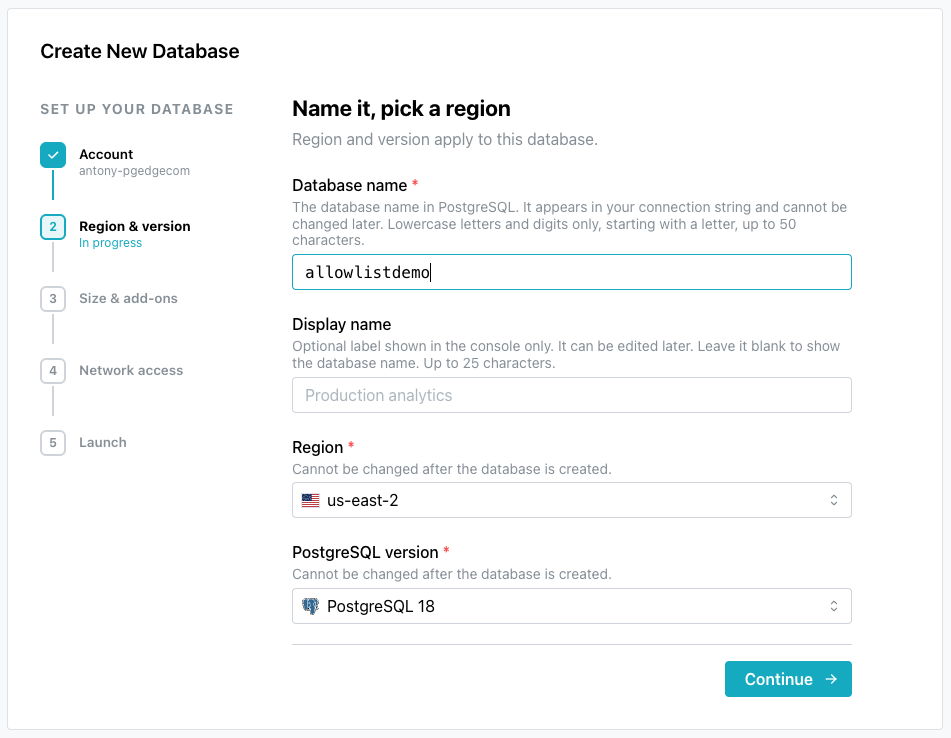
Choosing the Name, Region and Version
The Region & version wizard step sets the values that cannot be
changed after the database is created:
-
In the
Database namefield, enter the name of the database.The name appears in the connection string and cannot be changed later. The name uses lowercase letters and digits only, starts with a letter, and has up to 50 characters.
-
Optionally, in the
Display namefield, enter a label for the console.The console displays the display name only; you can edit the display name later, providing a name with a maximum length of 25 characters. If you leave the field blank the console displays the database name.
-
From the
Regiondrop-down, select the region the database runs in. -
From the
PostgreSQL versiondrop-down, select the Postgres version. -
Select
Continue.
Selecting a Size
The Size & add-ons wizard step sets the resources for the database:
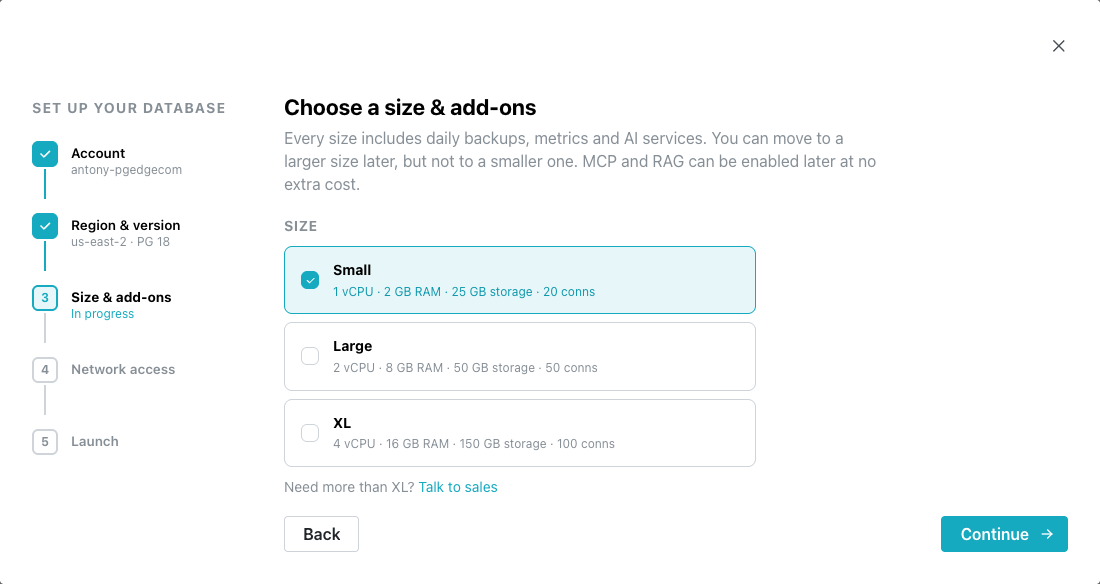
Each size has these resources:
| Size | vCPU | RAM | Storage | Connections |
|---|---|---|---|---|
| Small | 1 vCPU | 2 GB | 25 GB | 20 |
| Large | 2 vCPU | 8 GB | 50 GB | 50 |
| XL | 4 vCPU | 16 GB | 150 GB | 100 |
Every size includes daily backups, metrics, and the MCP and RAG servers. A database can move to a larger size later, but cannot downsize. For details about each size, see Managing Database Details.
-
In the
SIZEsection, select a size. -
Select
Continue.
Specifying Who Can Connect
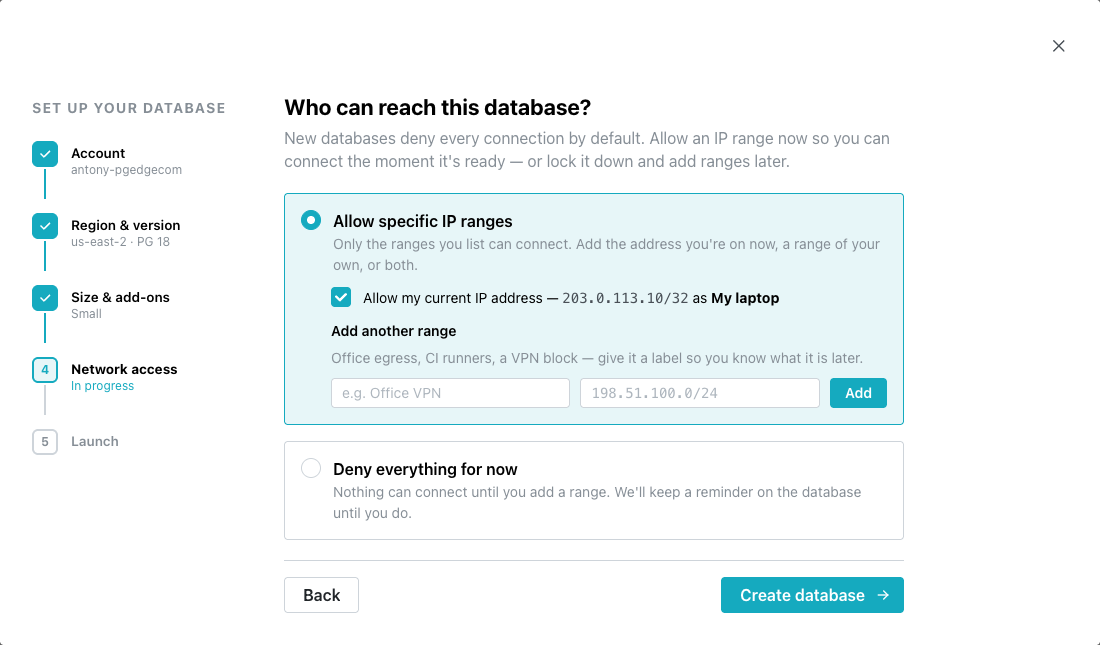
The Network access wizard step sets which IP ranges can connect to
Postgres. A new database refuses every connection until its allowlist
has a range:
-
Select one of the two options:
Allow specific IP rangesadmits only the ranges you add. When the console can read the IPv4 address you connect from, it selectsAllow my current IP address, which adds that address, labeledMy laptop.Deny everything for nowcreates the database with no ranges, so nothing can connect until you add a connection range.
-
To admit another address or network, enter a label and an IP address or CIDR block under
Add another range, then selectAdd.Add a range for each server, CI runner, or network that connects to the database.
-
Select
Create database.When the account needs a payment method, the button reads
Continue to payment, and aPaymentwizard step follows.
This wizard step sets the database allowlist only. A new MCP server or RAG server starts with no ranges of its own. For how allowlists work, and how to change one later, see Controlling Network Access.
Waiting for the Database
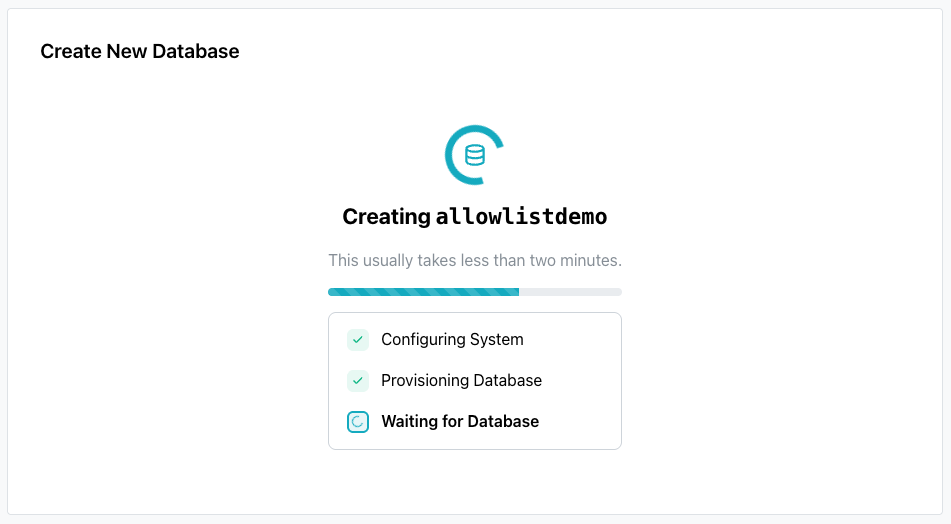
The Launch wizard step displays a progress bar and a step list while
the database is created:
When the database is ready, the console opens to the database's page, displaying database configuration and connection details.
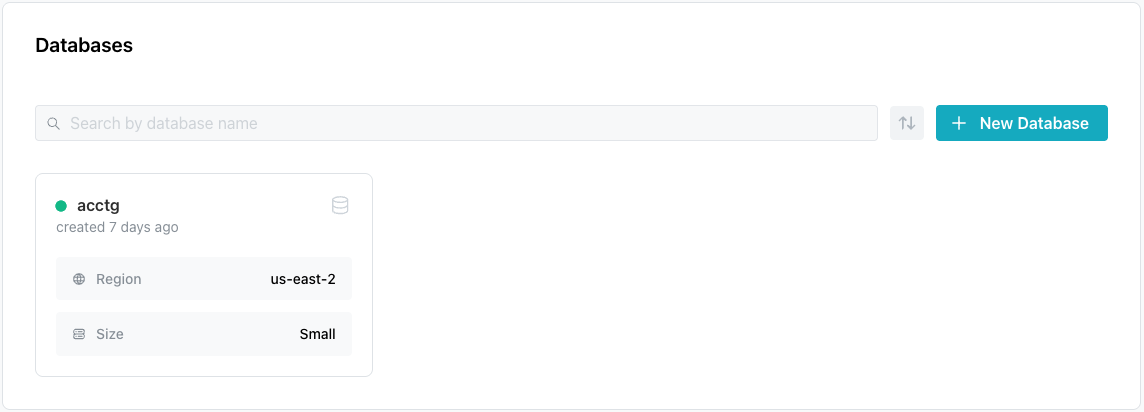
For ease of navigation, the database name is displayed in the
left-pane's navigation tree, and on the Databases page.
Troubleshooting
The wizard displays a message when a step fails:
-
Couldn't check billing status, with the body textWe couldn't confirm your billing status. Please retry before continuing., and aRetrybutton.The account requires a payment method before you can create a database; continuing past an unconfirmed billing status risks a refusal at the end of the wizard.
-
Something went wrong, with the body textUnable to start checkout. Please try again., and aBackbutton.The payment step could not open a checkout session. If the API sends a message of its own, it replaces the body text.
-
Confirmation failed, with the body textWe couldn't confirm your payment method.The panel also notes that the card may still have been saved, so check again in a moment before entering the card a second time.
-
Couldn't create your database, when the create request itself fails. The panel displays the reason, as well asTry againandBackbuttons.