Connecting with the AI DBA Workbench
The pgEdge AI DBA Workbench is a monitoring, alerting, and AI-assisted diagnostics dashboard for PostgreSQL. Install AI DBA Workbench on your localhost, and connect it to your pgEdge Starfleet database to monitor performance, receive alerts, and get AI-generated insights about your cluster.
Installing the Workbench
The Workbench consists of four services: a collector, a server, an alerter, and a web client. Docker Compose is the quickest way to deploy all four; make sure Docker is running before you begin (on macOS or Windows, start the Docker Desktop application). For other installation methods, see the Supported Installation Methods guide.
-
Clone the repository, and enter the project directory:
git clone https://github.com/pgEdge/ai-dba-workbench.git cd ai-dba-workbench -
Generate the shared secret file, and set a password for the Workbench's own PostgreSQL datastore. Replace the placeholder (
1safepassword!) with a password of your own choosing;POSTGRES_PASSWORDis an environment variable name and should be left as-is:mkdir -p docker/secret openssl rand -base64 32 > docker/secret/ai-dba.secret export POSTGRES_PASSWORD=1safepassword! echo "${POSTGRES_PASSWORD}" > docker/secret/pg-password sed -i.bak "s/password: postgres/password: ${POSTGRES_PASSWORD}/" \ docker/config/ai-dba-server.yaml rm docker/config/ai-dba-server.yaml.bakHint
sed -i.bak(rather than a bare-i) keeps this command portable between macOS/BSDsed. The trailingrmthen removes the backup filesed -i.bakcreates. -
Choose host ports that are unlikely to already be in use (
5432,8080, and3000are common defaults for other local services), then start the stack. Runningdown -vfirst guarantees a clean start, so PostgreSQL always initializes fresh with the password from step 2 instead of reusing a stale volume from an earlier attempt. This command is a no-op the first time you run it:export POSTGRES_PORT=15432 export SERVER_PORT=18080 export CLIENT_PORT=13000 docker compose -f examples/docker-compose.production.yml down -v docker compose -f examples/docker-compose.production.yml up -d -
Verify that all services are running:
docker compose -f examples/docker-compose.production.yml psIf any service is not
healthy, review its log entries with the command:docker compose -f examples/docker-compose.production.yml logs <service>Warning
The default Compose configuration publishes the client on plain HTTP for first-run convenience. Any deployment reachable from outside the host must terminate TLS in front of the client container before you connect a production database to it; see TLS and reverse proxy requirements.
-
Create a user account for the Workbench; the password must be at least 12 characters long. Replace
1safepassword!with a password of your own choosing:echo '1safepassword!' > /tmp/pw.txt docker compose -f examples/docker-compose.production.yml exec \ -T server sh -c 'cat > /tmp/pw.txt' < /tmp/pw.txt docker compose -f examples/docker-compose.production.yml exec \ server /usr/local/bin/ai-dba-server \ -config /etc/pgedge/ai-dba-server.yaml \ -add-user -username admin \ -password-file /tmp/pw.txt \ -full-name "Admin User" \ -email "[email protected]" docker compose -f examples/docker-compose.production.yml exec \ server /usr/local/bin/ai-dba-server \ -config /etc/pgedge/ai-dba-server.yaml \ -set-superuser -username admin docker compose -f examples/docker-compose.production.yml exec \ server rm /tmp/pw.txt rm /tmp/pw.txtNote
The
-add-usercommand prompts for optional notes about the user; pressReturnto skip it. This account's username (admin) and password are the Workbench login credentials, separate from thePOSTGRES_PASSWORDset in step 2, which only protects the Workbench's internal datastore. -
Open a browser to the client's address (
http://localhost:13000, using theCLIENT_PORTset in step 3), and log in with the credentials you configured in the previous step.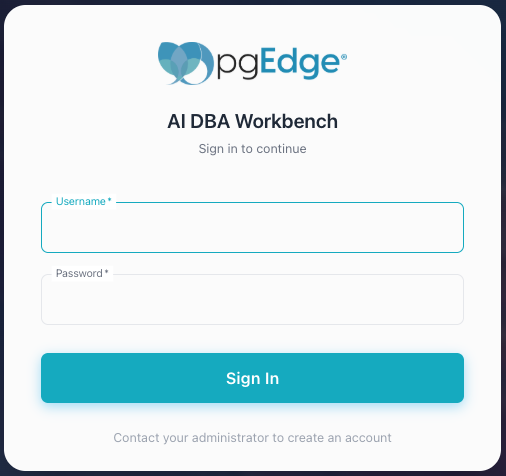
Connecting the Workbench to Your Database
When you are logged in, add your pgEdge Starfleet database as a monitored connection.
-
Select the
+next to theDATABASE SERVERSheading in the left navigation panel. The Workbench adds a new server definition entry.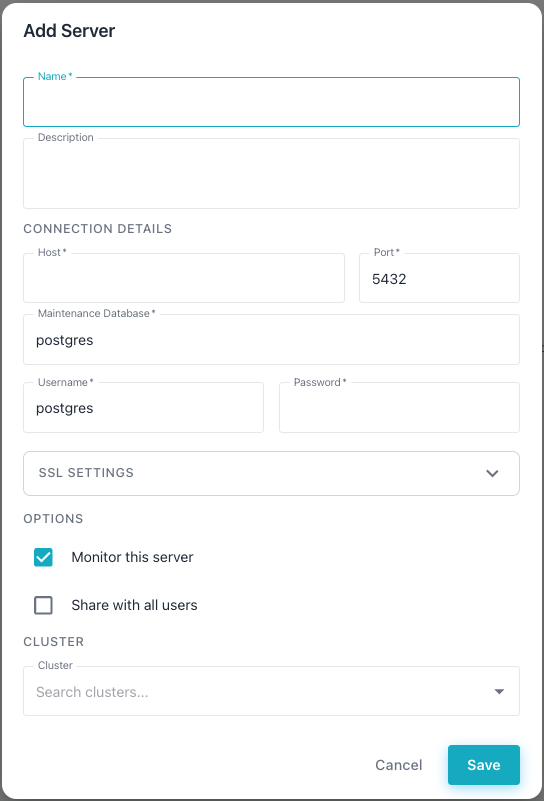
-
In the console, navigate to the
Connectpane to find the values you will need to connect to your database. -
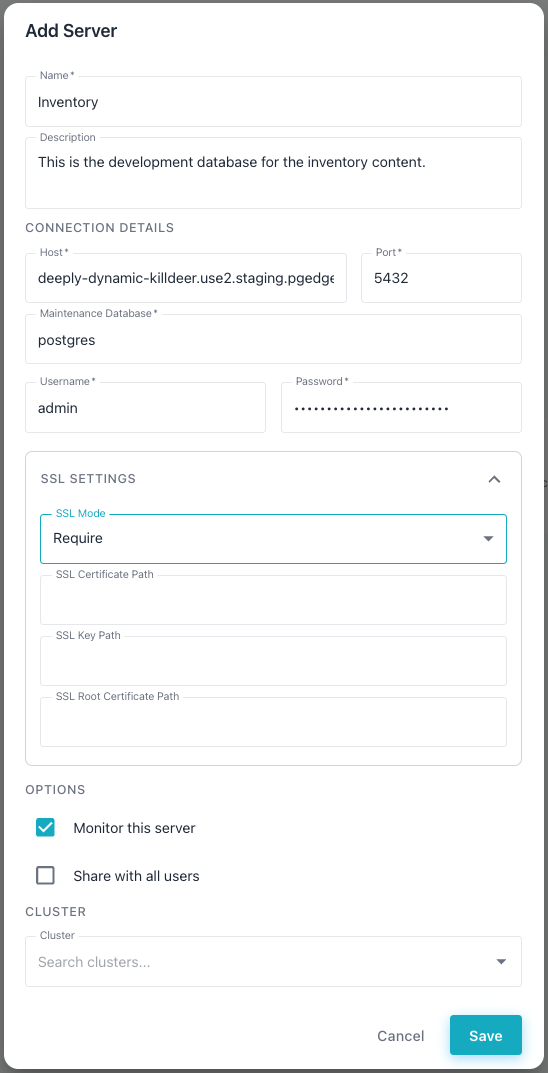
Complete the server definition using the values from the
Connectpane:Nameis a display name for this connection; when connected, Workbench displays it in the left navigation pane.Hostis theDomainname from theConnectpane.Portis the PostgreSQL listener port; enter5432.Usernameis eitheradminorapp; use the name that provides the permissions required (see Managing Database Roles).Passwordis the correspondingPasswordvalue from theConnectpane.SSL Modemust be set torequire.
-
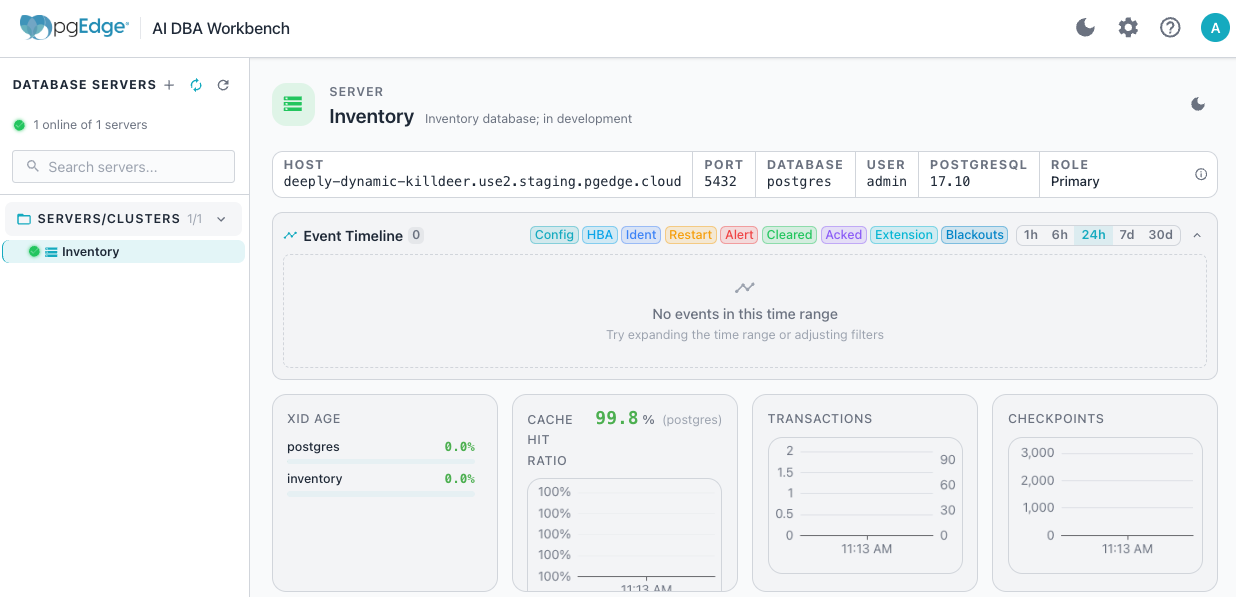
Save the server definition. The Workbench adds the database to the cluster navigator and begins collecting metrics. To view statistical metrics and manage your pgEdge Starfleet database, select the database name in the left navigation pane:
For more information about configuring and using AI DBA Workbench and other pgEdge projects and tools, visit the pgEdge documentation site.