Getting Started with pgEdge Starfleet BYOC
Getting started with pgEdge Starfleet BYOC is easy; simply navigate to the pgEdge sign-in page and follow the provided link to create an account, or log in with your Google or GitHub account.
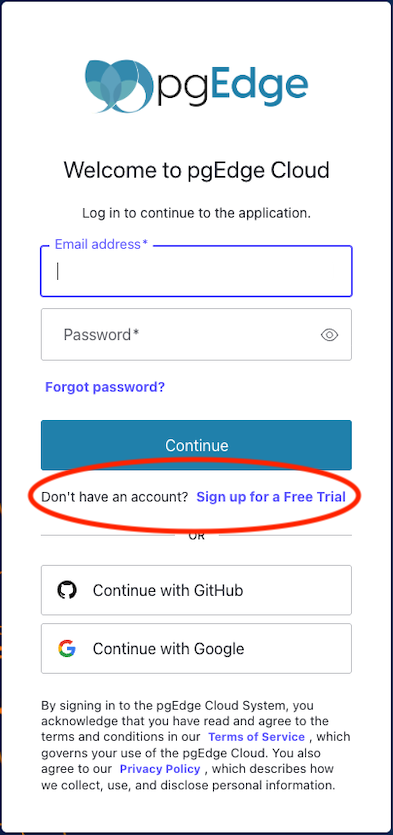
If this is your first time logging in, you are welcomed to the free trial of pgEdge Starfleet BYOC.
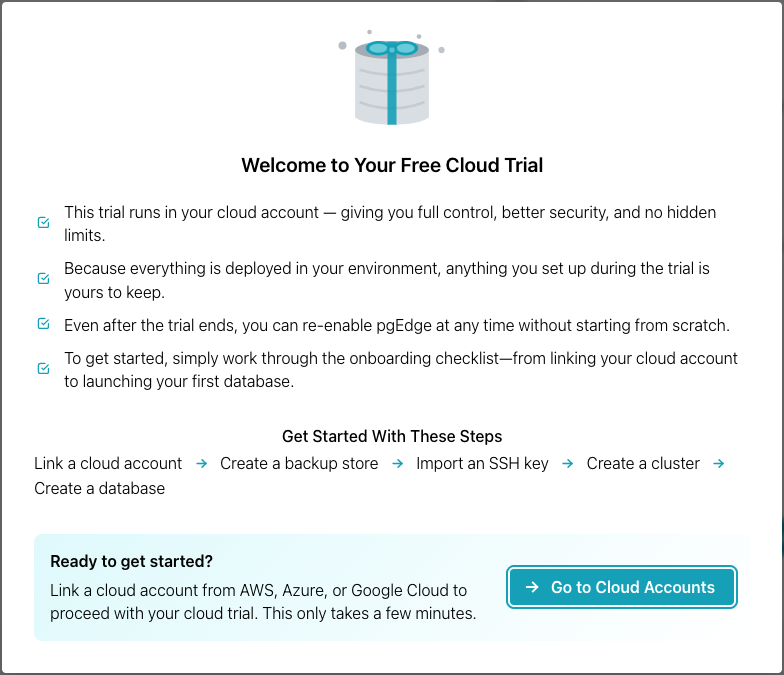
pgEdge Starfleet BYOC uses resources provisioned on your choice of cloud provider; with BYOC, you can create and manage clusters on the following providers:
- The AWS cloud platform provides scalable infrastructure services.
- The Azure cloud platform provides Microsoft cloud services.
- The Google Cloud platform provides Google infrastructure services.
When you create a cluster, pgEdge Starfleet BYOC provisions your cluster's supporting resources on that provider as well; those resources include the following:
- A backup store provides storage for database backups and recovery.
- An SSH key provides secure authentication to cluster resources.
Before creating your first cluster, you need to link your cloud provider
account with BYOC. Select the Go to Cloud Accounts button to get started.
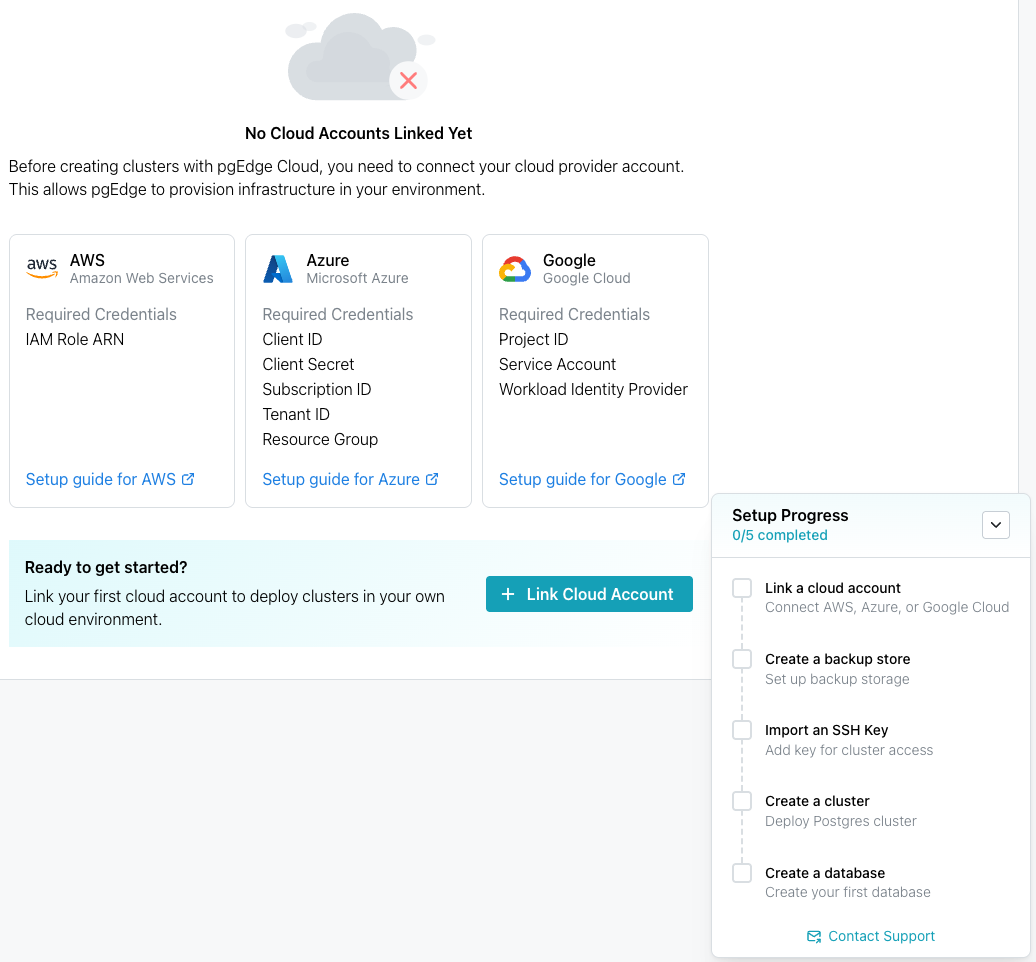
Information panes in the center of the page list the credentials and artifacts
you will need to create an account with each provider, as well as a link to the
provider-specific Setup guide for detailed information about linking your
account.
When you're ready to get started, select the Link Cloud Account button to
choose your provider.
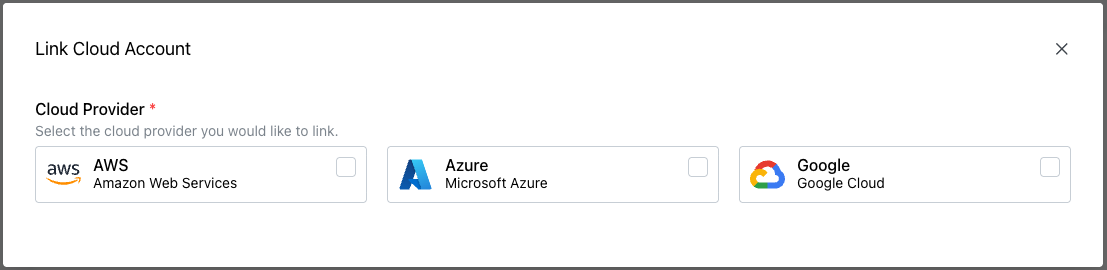
Choose your provider to open the account details dialog and provide the information required by each provider to deploy on BYOC.
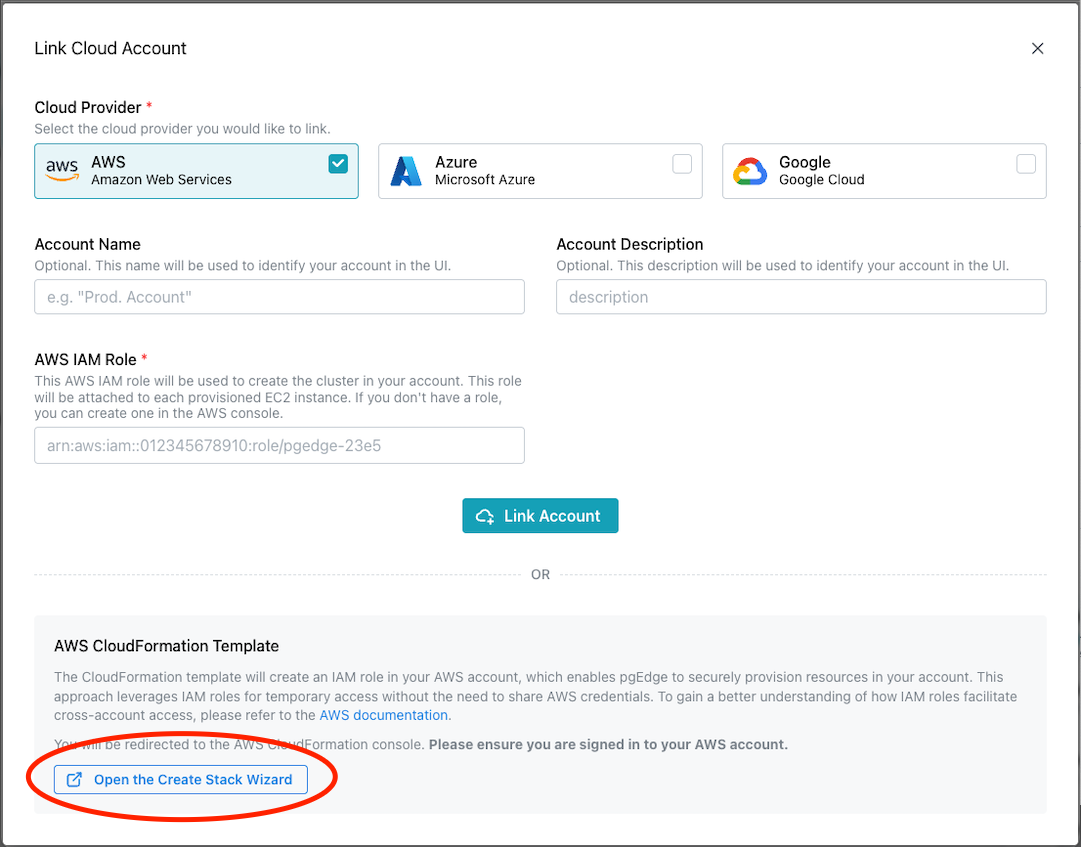
If you're
deploying on AWS, you
can use the Create Stack Wizard to use a completed AWS CloudFormation
template to create an AWS role with the required permissions; use the link
circled in red above to navigate to the wizard and retrieve your ARN.
When you've finished adding a provider account, the new account is displayed on
the Cloud Accounts page, and the progress dialog is updated.
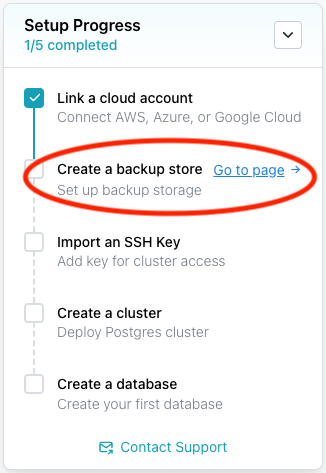
Next, you'll create a backup store. You can use the link on the progress tracker shown above to navigate to a screen that displays information about backup stores, with a link to a page where you can define a backup store on your preferred provider.
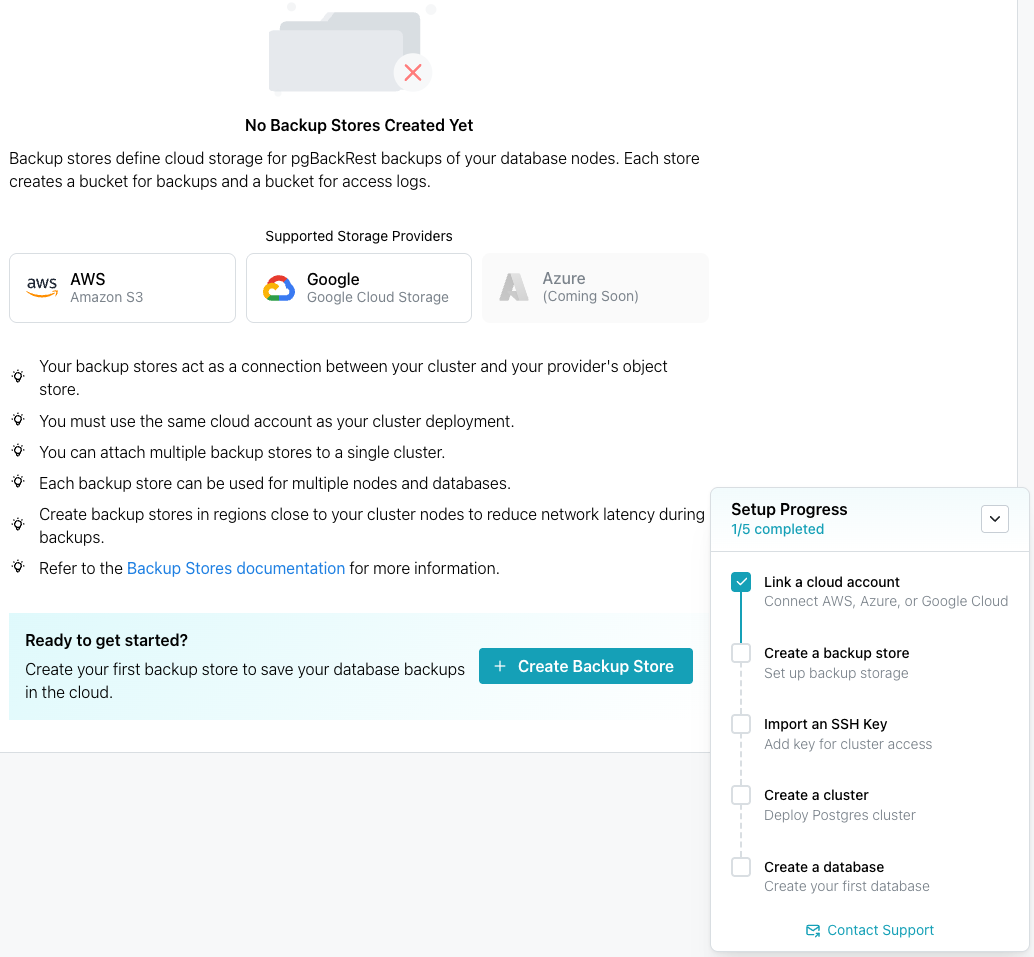
Select Create Backup Store to navigate to
the Create Backup Store dialog; complete the dialog and click
Create Backup Store to continue.
When you've finished defining the backup store, the store is displayed on the
Backup Stores dialog, and the progress tracker advances, prompting you to
import an SSH key.
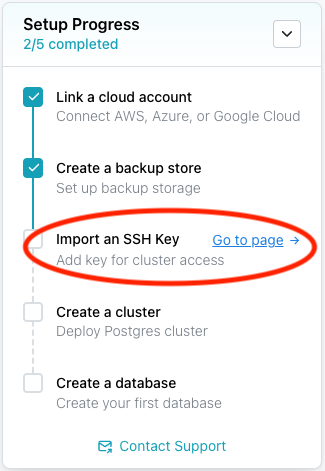
Next, you'll import an SSH key. You can use the link on the progress tracker to navigate to an informational page with links to more information about importing keys.
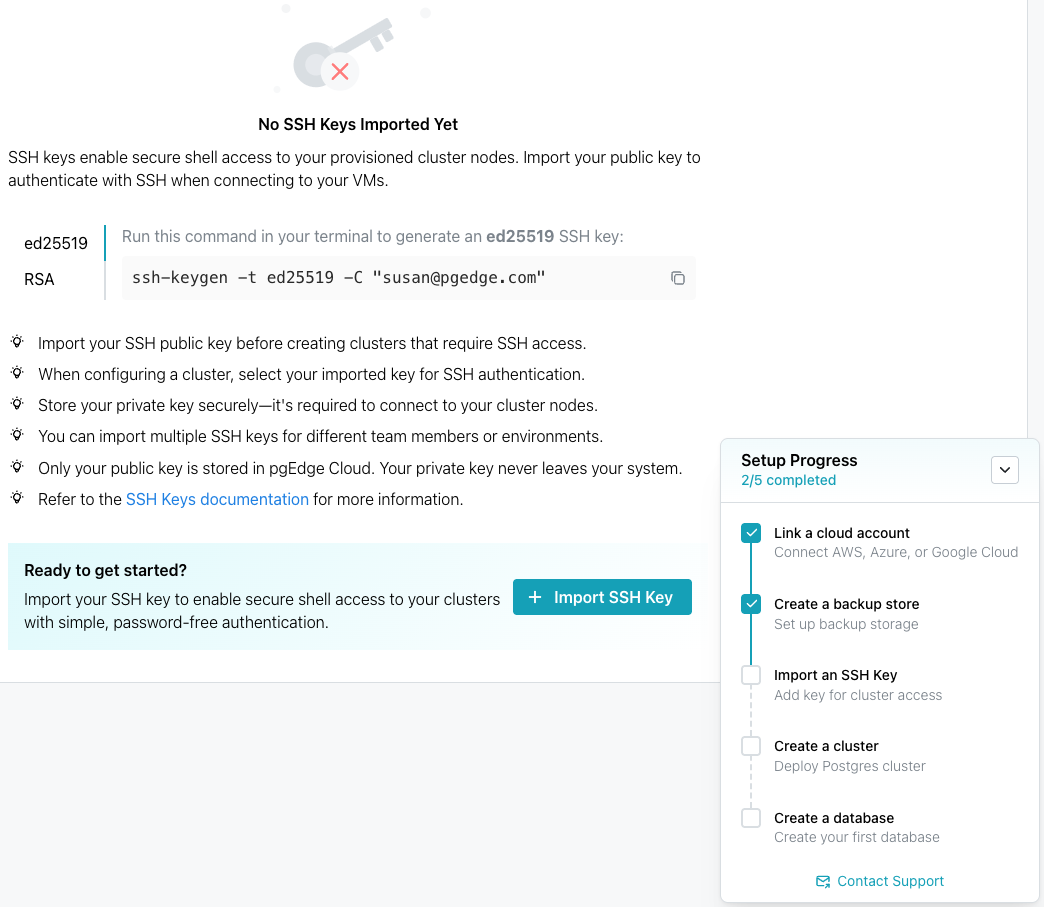
When you're ready, select the Import SSH Key button to advance to the import
page. When you've finished importing an SSH key, the progress tracker advances
and you can see the imported SSH key on the SSH Keys dialog.
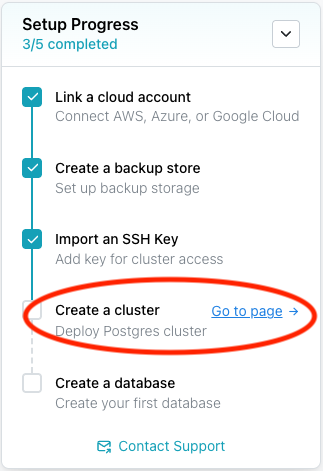
Next, you'll create a cluster. A cluster is a database container that can house one or more databases in one or more regions. Single-region clusters are not distributed; distributed clusters have databases in multiple regions.
Use the link on the progress tracker to navigate to a page with more information about cluster creation and handy links.
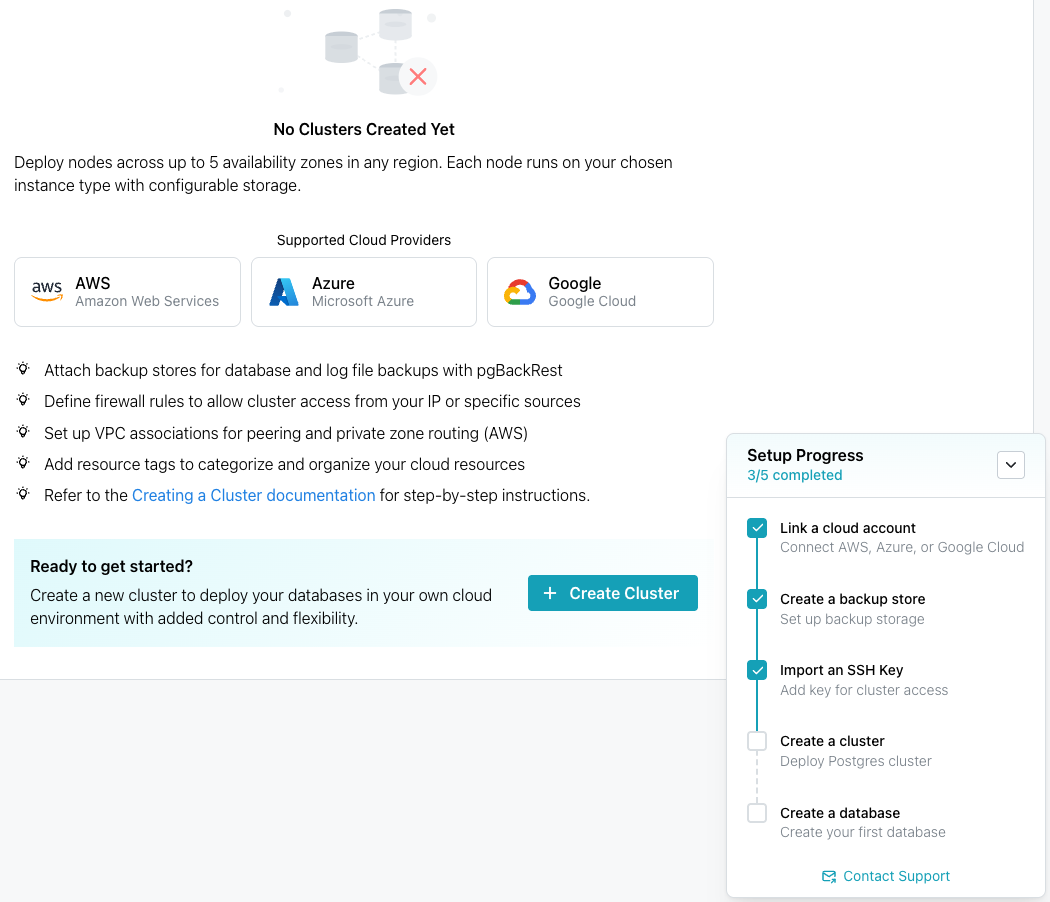
To create a cluster, click the Create Cluster button; when you've finished
creating a cluster, the progress tracker advances, and you can see the imported
cluster definition on the Clusters page.
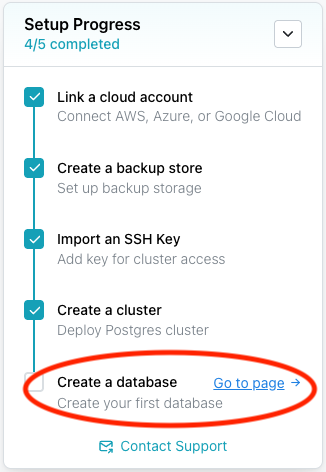
Next, you'll create a database. You can use the link on the progress tracker to navigate to the database creation page.
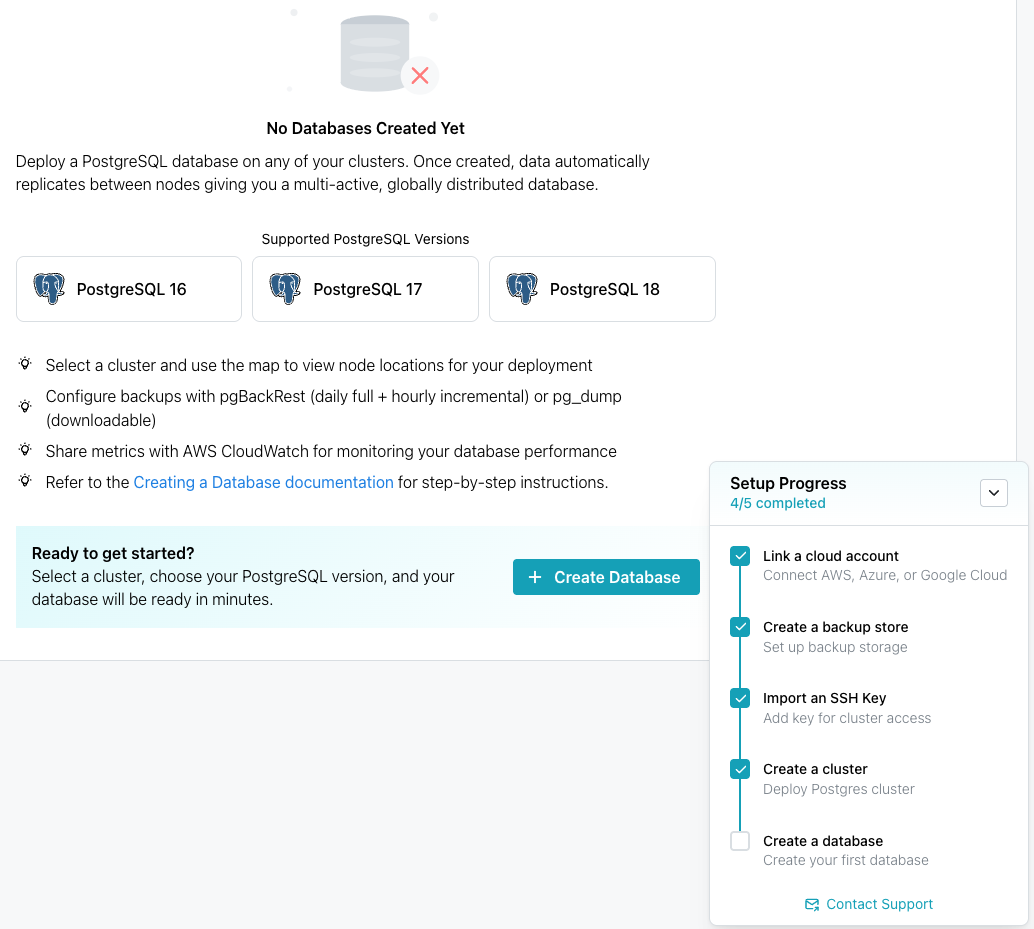
When you're ready, select Create Database to create your new database and
exit the progress tracker.
pgEdge Resources
Use the links in the lower-left corner of the console to access the following pgEdge resources:
- The
Communitylink provides an invitation to the pgEdge Discord server. - The
Docslink opens the pgEdge documentation website. - The
Settingslink allows you to review or modify account settings, including API Clients. - The
Team Managementlink allows you to review and manage team settings.