Creating and Managing Branches
When you create a branch, you create a separate database that contains the source database's data at the moment of creation. You can modify data on the branch without changes cascading through to the data on the source database.
You can manage branches from the database page of the source database. Before you create a branch, ensure that the following conditions are met:
- The source database's status must be
availableordegraded. - A branch's network access is set once, when you create the branch, and cannot be changed afterward.
Hint
Decide which addresses need to reach the branch before you open
the Create branch dialog.
Viewing Your Branches
The Branches pane on the database page lists the branches of the
database.
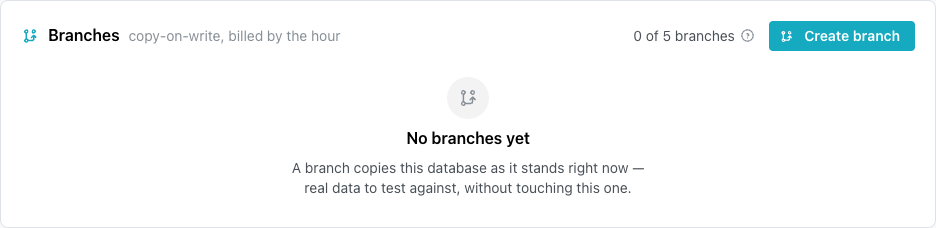
The pane header displays how many branches the database has, against the
limit for your plan, for example 2 of 5 branches. Each row in the pane
includes the following details:
Branchdisplays the branch's label. A branch with a display name also displays its assigned name below the label.Sizedisplays the size the branch copied from the source database.Alive sincedisplays how long ago the branch became available, or, while it is stillcreating, how long ago you created it.Ratedisplays the branch's price per hour.
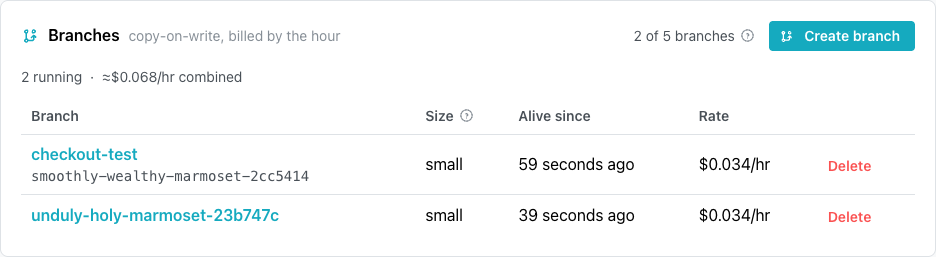
Select a branch's label to open the branch's page. To review the limits for each plan, see Understanding Branches.
Creating a Branch
A new branch includes the data from the source database at the moment you
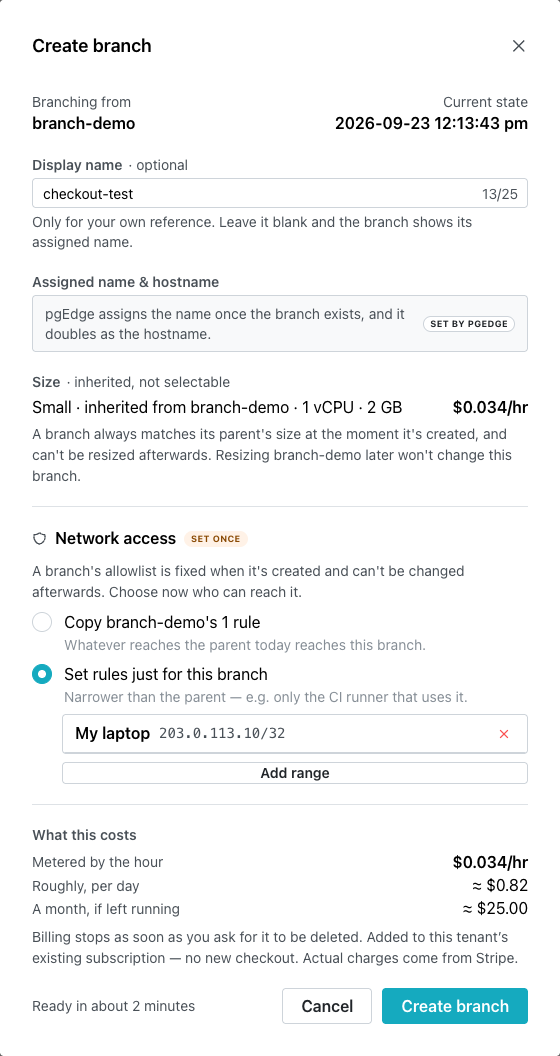
select Create branch. To create a branch:
-
On the source database's page, select
Create branchin theBranchespane.The
Create branchdialog opens. -
Optionally, enter a display name of up to 25 bytes in
Display name. A letter such asécounts as two bytes.The display name appears only there. pgEdge assigns the branch's name, which is also its hostname, and the branch's page displays it when the branch is
available. -
Read the
Sizesection, which displays the size the branch copies from the source.A branch cannot be resized later, and resizing the source database does not change the branch.
-
In the
Network accesssection, choose which addresses can reach the branch's Postgres; this choice cannot be changed later:- The
Copy...option gives the branch the source database's current allowlist rules. The console selects this option by default when the source has rules. - Select
Set rules just for this branchto allow only the ranges you add. SelectAdd my current IP, which displays your address, or enter another range. After the first range,Add rangeadds another.
The MCP server and RAG server on the branch keep the allowlists they had on the source, whichever option you choose.
To modify network access afterward, create a new branch and delete this branch.
- The
-
Review the
What this costssection, which lists what the branch costs per hour.pgEdge bills the branch by the hour from when it becomes available, until you request its deletion.
-
Select
Create branch.The branch's row displays
Creatinguntil the branch is ready, then the branch's status becomesavailable.
Connecting to a Branch
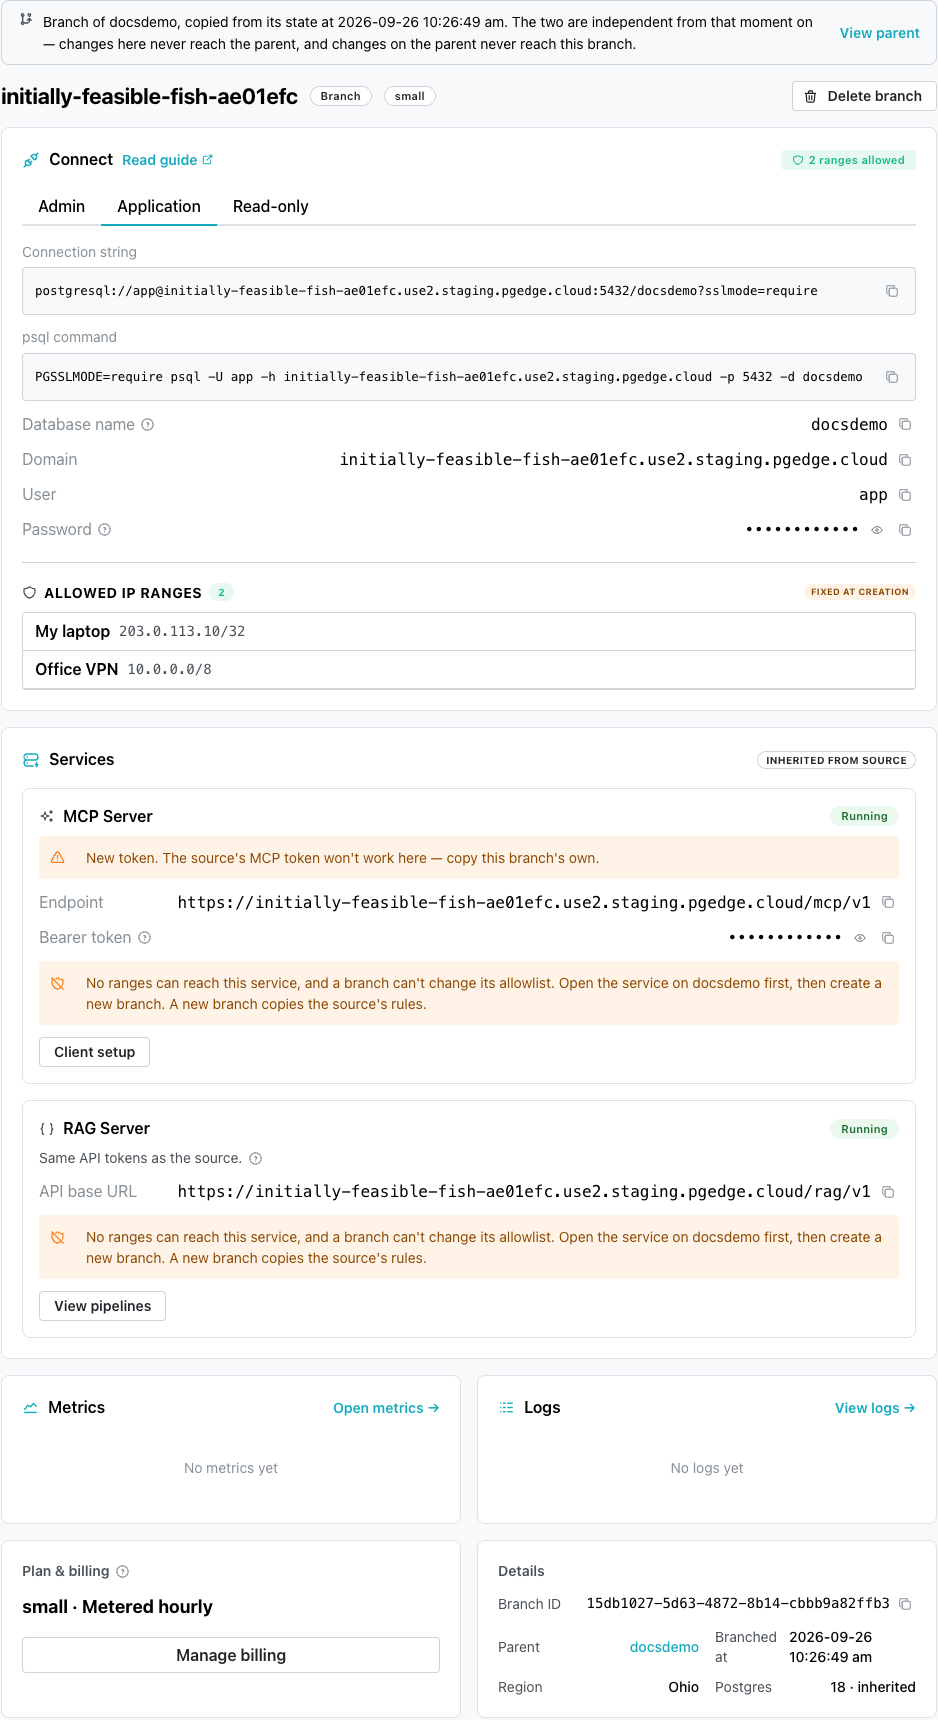
The branch's page displays the branch's connection details when the branch
is available. Select the branch's label in the Branches pane to open
the branch's page.
The Connect pane on the branch's page has an Admin tab, an
Application tab, and a Read-only tab, one for each built-in role. Each
tab displays the following details:
Connection stringandpsql commandconnect to the branch's own hostname, which is its assigned name.Domaindisplays the branch's hostname.Database nameandUsermatch the source database.Passwordis the role's own password on the branch, which is different from the source database's password.
The branch's Connect pane has no Rotate credentials button.
The ALLOWED IP RANGES list displays the branch's network access, marked
FIXED AT CREATION. The list is read-only.
The Services pane displays the MCP server and RAG server the branch copied
from the source database. Each server's card lists the ranges that can reach
it, after Allowed:, or warns that no range can reach it. A card displays its
server's address, and the controls that use the address, only while the
server's status is Running.
If the branch has an MCP server, that server has its own address and a separate MCP token. The source's address and token do not work against the branch. The MCP server's card displays the branch's own details:
Endpointdisplays the address of the branch's MCP server.Bearer tokendisplays the branch's MCP token. Select the eye icon to reveal the token, or the copy icon to copy it.Client setupdisplays the configuration for the MCP client you choose, filled in with the branch's endpoint and token.
For the configuration each client needs, see Enabling and Using the MCP Server.
The RAG server's card displays API base URL, the address of the branch's RAG
server. Select View pipelines to display a curl command for each pipeline,
which queries that pipeline on the branch.
The Metrics and Logs panes display the branch's own metrics and
Postgres log, never the source database's. Select Open metrics or
View logs to open the full page for the branch.
For more information about client connections, see Connecting to a pgEdge Starfleet Database.
Deleting a Branch
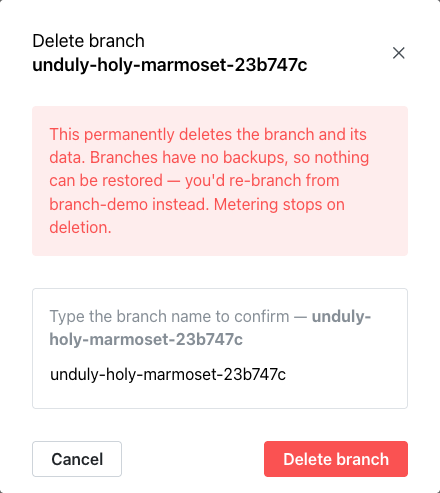
Deleting a branch removes the branch and its data. Branches have no backups, so after being deleted, the branch cannot be restored. To delete a branch:
-
In the
Branchespane, selectDeleteon the branch's row, or selectDelete branchon the branch's page.The
Delete branchdialog opens. -
Type the branch's label, as displayed.
-
Select
Delete branch.The branch and its data are removed.
Hint
The branch has no backups of its own, but the source database's backups still contain your data as of the moment you created the branch. Deleting the branch loses only the changes you made on the branch itself, which those backups never captured.
Billing for the branch stops when you select Delete branch, and the
branch stops counting toward your limit. The row displays Deleting until
the branch is removed.
Troubleshooting
-
You've used all 5 branches for this database.appears in theCreate branchbutton's tooltip on a paying subscription, once the database has reached the branch limit for your plan. Delete a branch you no longer need to free its slot.On a trial, hovering over the disabled button displays a card with an
Add a payment methodlink, stating that trials allow 3 branches per database. SelectAdd a payment methodto allow 5 branches per database, or delete a branch to free its slot.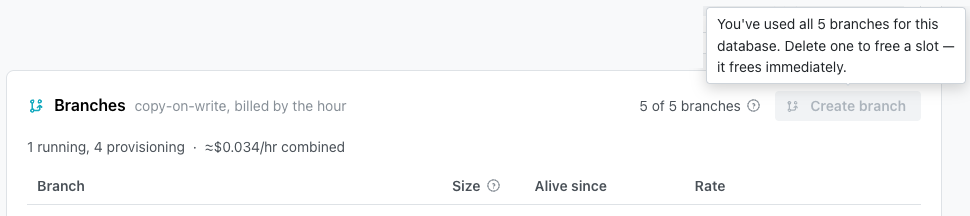
-
Branching is blocked while this subscription is past due.appears as a banner in theBranchespane when the subscription has an unpaid invoice. SelectReview billingin the banner, and settle the invoice to create branches again. -
Nothing can reach this branchappears on the branch's page when the branch was created with no allowed network ranges. Since network access cannot be changed afterward, create a new branch with the ranges you need, then delete this branch. -
This branch is suspendedappears on the branch's page when the subscription is unpaid or has expired; the branch is hibernated and cannot be reached, and billing for it is paused. SelectReview billingand settle the subscription to resume the branch. -
Provisioning…appears in the branch's row whereDeletenormally does, and confirmingDelete branchon the branch's page displays an error in the dialog, while a branch's status iscreating. Delete the branch when its status isavailable. -
The
Create branchbutton in the dialog stays disabled when the source database has no allowlist rules to copy, or whenSet rules just for this branchhas no range added; a branch created that way could never be reached. Add at least one range, then selectCreate branch. -
A branch
failedstatus means the branch could not be created. Delete the branch and create a new one. -
The
Create branchbutton's tooltip says the source database has to be available or degraded first, and names its current status. Create the branch when the source database's status returns toavailable. -
The source database remains after you select
Delete Databasewhile one of its branches is stillcreating. The console displaysA branch of this database is still being created. Try again once it has finished.Delete the database when the branch has finished. -
The branch refuses an MCP client that works against the source database, because the branch's MCP server has its own address and token, and the source's do not work against it. Give the client the
EndpointandBearer tokenfrom the MCP server's card on the branch's page.A client the branch still refuses, despite using its own token, is connecting from an address its MCP server does not allow. The branch copied the source's MCP allowlist when the branch was created, and that copy cannot be changed. Add the client's address to the source database's MCP server allowlist, then create a new branch and delete this one.
-
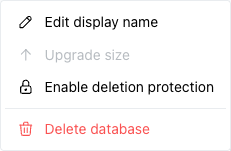
Upgrade sizeis disabled on the source database'sActionsmenu and in itsPlan & billingpane, because a database cannot be resized while it has branches; each branch keeps the size it was created with. Delete the database's branches first, then resize the database.A
failedbranch counts as well, so delete it before you resize the database.