Managing Account Settings
Select Settings in the navigation pane to open the Settings page, where
you can update your profile, review your team account, manage API clients,
and manage billing. The page has four tabs: Profile, Team,
API Clients, and Billing.
The Profile Tab
Select the Profile tab to review and update your account details.
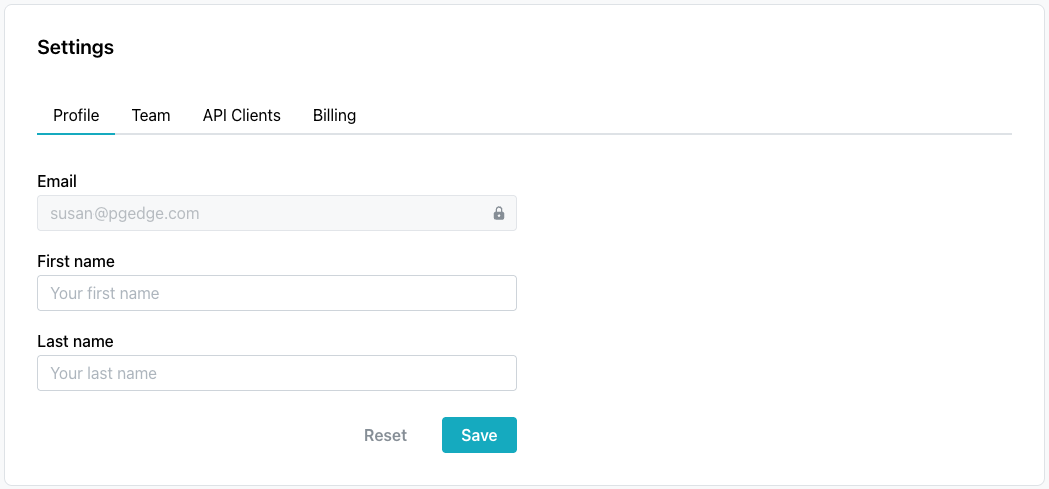
The Profile tab displays the email address associated with your account
(read-only), and allows you to update the names associated with your
account:
- the
First namefield. - the
Last namefield.
When you have finished, select Save to update your account with the name
changes; select Reset to return the fields to their previous values.
The Team Tab
Select the Team tab to review your account and manage team members.
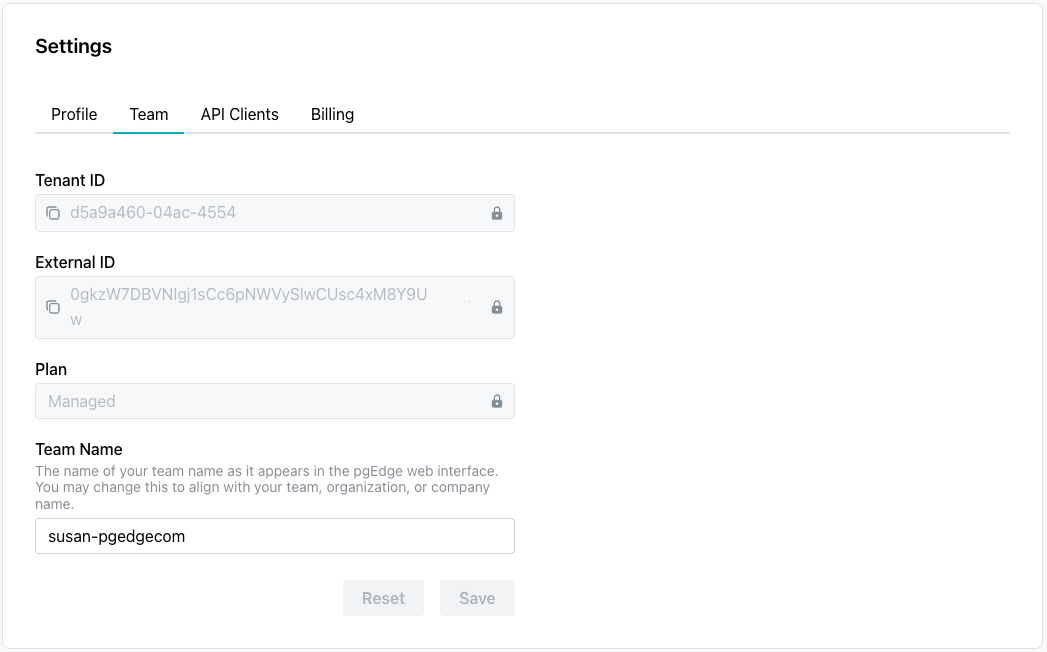
The Team tab displays information about your account:
- the
Tenant IDis a read-only identifier for your account; provide it when contacting pgEdge support (if needed for troubleshooting). - the
External IDis a read-only identifier value. - the
Planfield displays your current plan type (for example,Managed). - the
Team Namefield displays the name of your team as it appears in the pgEdge web interface; you can change this to align with your team, organization, or company name. This name appears in invitation emails when you invite other people to join your account.
Select the copy icon next to the Tenant ID or External ID field to copy
its value. When you change the Team Name, select Save to apply the
change, or Reset to revert it.
For information about inviting and managing team members, see Managing Team Members.
The API Clients Tab
Select the API Clients tab to manage the API clients on your account.
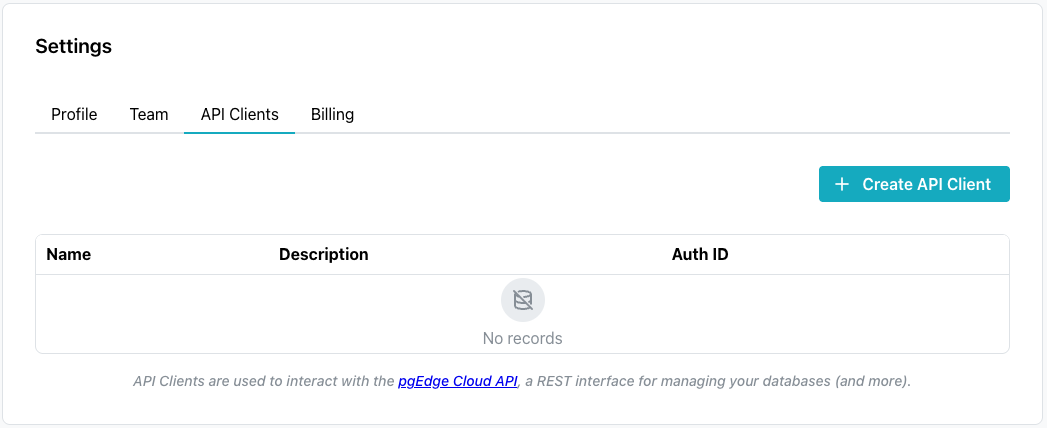
The API Clients tab lists the API clients on your account (Name,
Description, and Auth ID columns); you use an API client to interact
with the REST API that manages your databases, backups, and other
resources.
To add an API client, select Create API Client in the upper-right
corner of the tab; the Create API Client popup opens.
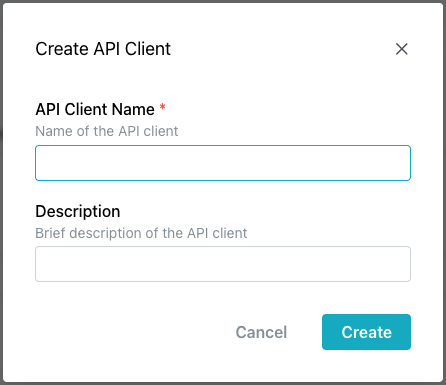
The popup collects:
- a descriptive name for the API client, in the
API Client Namefield (required). - a brief description of the API client, in the
Descriptionfield.
Select Create to add the client, or Cancel to close the popup without
saving it.
The Billing Tab
Select the Billing tab to review your subscription and payment status.
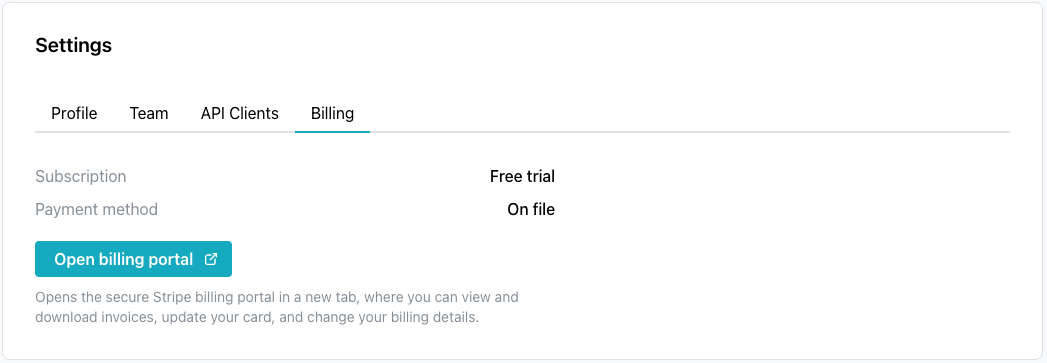
The Billing tab displays your account-level subscription and payment
status:
- the
Subscriptionfield displays your current plan (for example,Free trial). - the
Payment methodfield indicates whether a payment method is on file.
Select Open billing portal to open the secure Stripe billing portal in a
new tab, where you can view and download invoices, update your card, and
change your billing details.
This account-level billing is separate from the size and price of an individual database; for details about a specific database's size tier and price, see Plan and Billing.